- Focus
- Expert Photoshop image correction
- Volume
- High volume production
- Method
- Custom actions and Bridge routing
- Result
- Fast, consistent corrections
Originally hired as a color correction technician, I was moved to the hard drive station before taking the required Photoshop test. When I returned to color correction, I stepped into a production environment where speed and consistency mattered as much as visual quality. I could recognize exposure, color, contrast, and cropping problems almost immediately, but the existing process could not move as quickly as that judgment. I began rebuilding the workflow around how I actually saw and solved each image.
I developed dozens of custom Photoshop actions and arranged them into a keyboard interface that turned repeated decisions into reliable commands. The system did not treat every image the same. Every image still required judgment, and the actions gave me a precise, repeatable way to execute that judgment. Over roughly two years, the system grew with the demands of production until I could move through complex batches with both speed and control.
The real achievement was not simply working faster. It was translating visual intuition into a production process without flattening the differences between images.
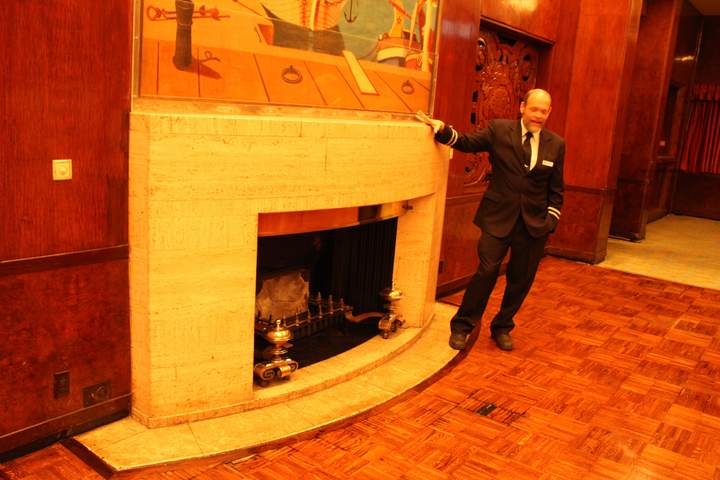
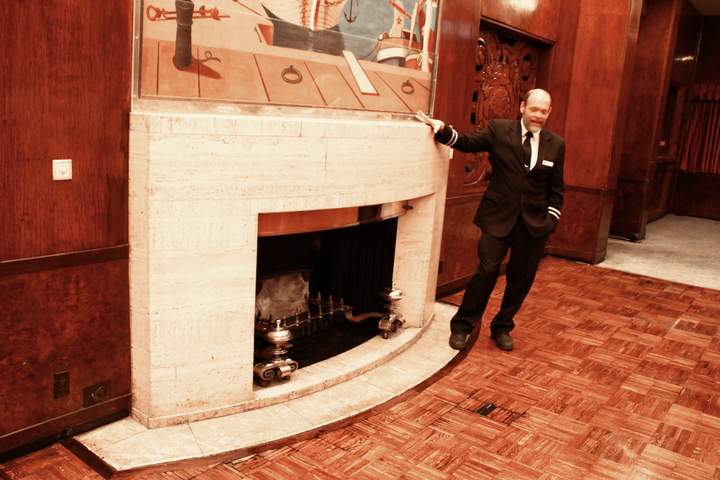
Before and After
Sample images processed outside production. The same keyboard workflow handled each condition.
All examples were processed through the same custom Photoshop workflow.
Different conditions still needed a judgment call, followed by the right action.
Warm Cast / Mixed Interior Lighting
→ Exposure normalization + color balance routing
Low Light / Shadow Compression
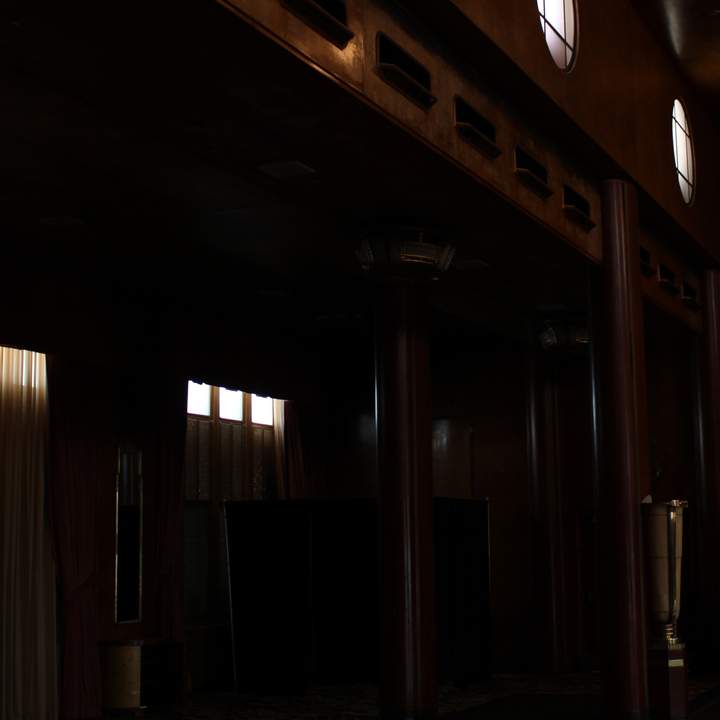
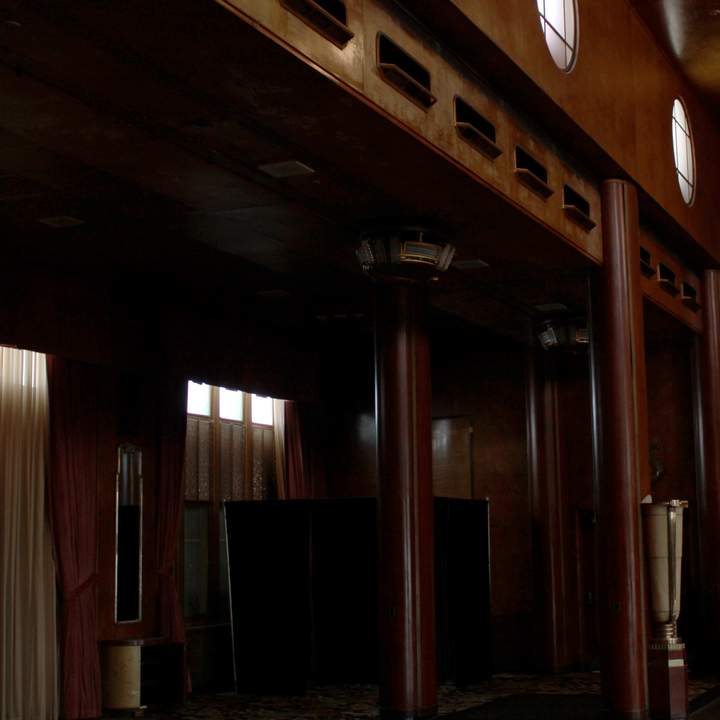
→ Shadow recovery + controlled lift
Outdoor / High Contrast Light
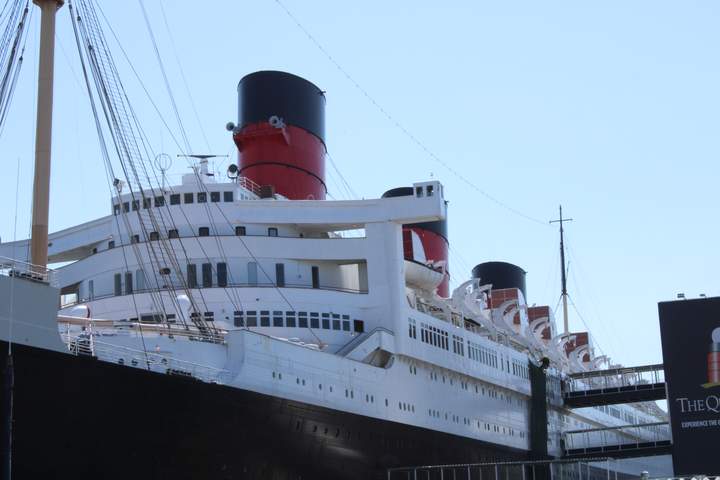
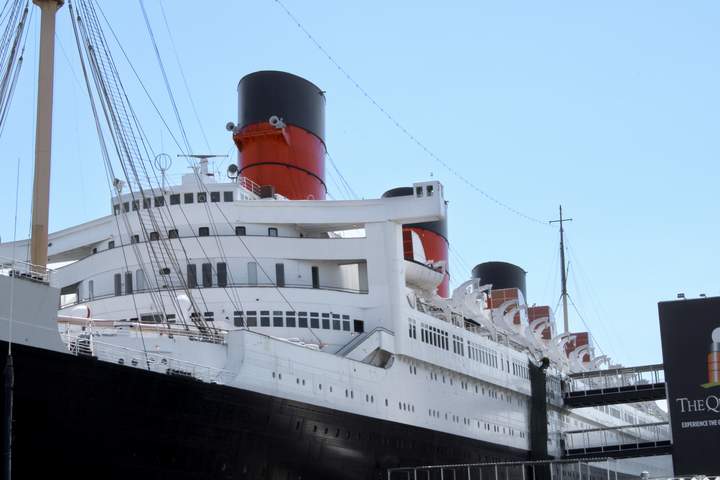
→ Highlight control + tonal normalization
The same keymap and sorting habit applied across different input conditions.
Visual Judgment at Keyboard Speed
Photoshop actions became useful only when the interface matched the way I made decisions. Reaching the right adjustment quickly mattered as much as building it correctly.
I organized dozens of custom actions around the corrections I used most often, with related variations grouped where muscle memory could find them. Exposure, tonal balance, color, crops, rotation, and review decisions could be applied without breaking visual concentration or repeatedly returning to menus.
The keyboard layout became an extension of my visual process. I was not asking presets to decide for me. I was building a faster way to execute decisions I could already see.
Bridge Collections and Batch Staging
Adobe Bridge began as a way to review and rotate images one folder at a time. I saw an opportunity to use its collections, ratings, and filtering tools as a production layer across larger batches.
I created a structured staging system that grouped images by status and correction need, then connected those groups to a review process controlled from the keyboard. This separated sorting from correction, reduced repeated navigation, and made it possible to pause or resume without reconstructing the batch from memory.
The result was a continuous path from visual assessment to staged work to final correction. I made the image decisions in Photoshop while Bridge kept the production state visible.